Think stained glass is only for windows? Jonas Beirs shows how the art can be applied in many ways in a home from doors to dividers.
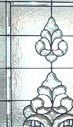
 Using stained glass in the bathroom adds a decorative element at the window and privacy at the same time.
 One of the newest applications of stained glass is interior window shutters. The design itself resembles fabric and the look is beautiful.
New stained glass can be expensive due to the labor involved in the design and the work itself. Look for old windows in antique salvage stores, flea markets and antique auctions. This material lends itself to repair so don't worry if the piece you love has cracked or broken panes.
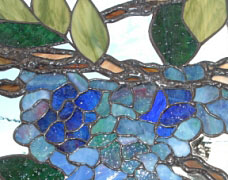
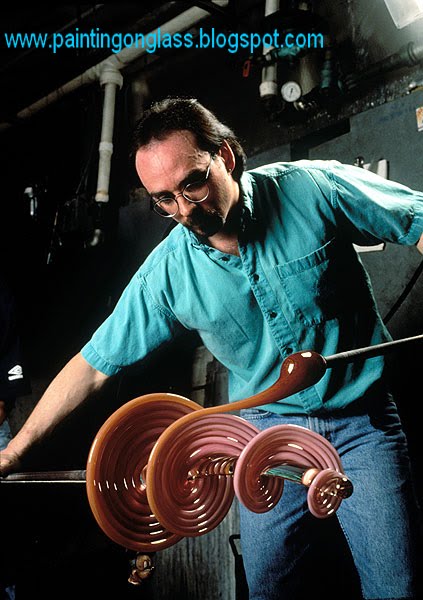
 Jonas Beirs has done things as complicated as putting silk screening on glass and he's also handpainted images that are a little more contemporary and personal.
When cleaning stained glass, it's best to just use plain water and a soft cloth as glass cleaner can actually affect the putty seams between the colored pieces.
Using stained glass in the bathroom adds a decorative element at the window and privacy at the same time.Think stained glass is only for windows? Jonas Beirs shows how the art can be applied in many ways in a home from doors to dividers:
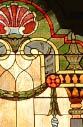
- People are using stained glass in a lot of different applications today, including pieces as an interior element rather than only replacing existing windows. It can hang from the ceiling, be used in upper kitchen cabinets, within interior doors and for privacy when people don't want anyone to see into their homes, such as in bathrooms.
One of the newest applications of stained glass is interior window shutters. The design itself resembles fabric and the look is beautiful.Jonas Beirs has done things as complicated as putting silk screening on glass and he's also handpainted images that are a little more contemporary and personal.


 Place the printed copy on a light box. If you don't have a light box, tape it to a window that has a lot of light coming through it. Place another blank piece of paper over it and start tracing the outlines with a pencil. As you are designing for stained glass, you will have to pick and choose the lines you use, and occasionally add a creative line here and there to make it feasible to cut in stained glass.
  When you are satisfied with the lines, you may want to enlarge or decrease the size of the drawing to make it fit into your design for stained glass. Now you need to cut it out, with scissors, so you have the element with just a little paper left around it.